These are the revolutionary greeting cards you have been waiting for!
INSTRUCTIONS FOR PRODUCING THE CARDS
| revcom.us
There are six cards: six different images and six BA quotes—one chosen for each image.
There is also an insert for the cards, with a brief explanation of what the tour is.
There are two methods for producing the cards:
- Print the greeting and captions on the card; print the photo separately on photo paper and glue it onto the card
- Print the photo, greeting, and caption directly on card stock
Materials:
For both methods you will need card stock and envelopes. We suggest doing this in quantity and then distributing them to many different friends to distribute and sell. You will probably get the best price by ordering online.
Options:
- Amazon advertises Hamilco brand blank folded 5x7 cards with envelopes—100 pack for $26.99.
- You can also get sheets of 8½ x11 card stock or cover stock which you can fold and cut yourself. Card stock is typically smooth to the touch. Linen cover stock is coated and textured. Online examples:
- Staples: 67# cover stock, white 8½ x 11, 250 sheets/$18.75
- Staples: 65# card stock, white 8½ x 11, 250 sheets/$16.29.
- You will need to order 5¼ x 7¼ envelopes if you are using card stock. Amazon lists 110 for $14.95.
You will need an inkjet printer.
Method 1—printing the photo separately, printing the text on the card, gluing the photo onto the card:
- Download the 4x6 photo. If your inkjet printer can print photos, you can print it yourself on 4x7 photo paper. Otherwise you can download it to a flashdrive and go to Costco or Walgreens or other pharmacy and get prints. It’s 17 cents per copy at Costco and 39 cents a copy at Walgreens.
- Download the files for the text for the front and back of the card. Use an inkjet printer. In printer preferences be sure to set the printer to print landscape. You will need to set the paper type to a thicker paper—you may need to experiment to get the best setting. If you are using the 5x7 cards, you may need to customize the paper size in the paper size setting. Select manual paper feed so you can print each card individually.
- Do a test print on white paper, print front first, turn it over and print back—so that you figure out which direction to insert the paper for printing the back.
- Print all the front sides of the cards first, lay them out, and let them dry. Then print the back sides.
- If you are using card or cover stock, fold the card by first scoring it along the center.
- Using a paper cutter (you can go to FedEx or Staples if you don’t have one at home), carefully cut the folded card on 3 sides.
- If you are using pre-cut and folded 5x7 cards you can skip the above two steps.
- Affix the photo to the card: Using a ruler, center the photo from side to side. From top to bottom make a slightly bigger margin at the bottom. Apply rubber cement to the photo and the card and allow them to dry. Once dry, attach the photo to the card. With rubber cement you can lift it off and re-apply it. (You can also try using glue stick.)
Method 2—printing photo and text directly onto the card:
- For this method you must have an inkjet printer that can print photos. Many newer printers have this capability. In printer preferences, be sure to set the printer to print landscape. You will need to set the paper type to a thicker paper—you may need to experiment to get the best setting. If you are using the 5x7 cards, you may need to customize the paper size in the paper size setting. Select manual paper feed and print each card individually. If there is an Effects option, select Image Optimizer. Be sure you have enough ink in all the color cartridges.
- Download the files for the front and back of the card which include photo. Do a test print on white paper, print front first, turn it over, and print back—so that you figure out which direction to insert the paper for printing the back.
- Print all the front sides of the cards first, lay them out and let them dry. Then print the back sides.
- If you are using card or cover stock, fold the card by first scoring it along the center.
- Using a paper cutter (you can go to FedEx or Staples if you don’t have one at home) carefully cut the folded card on three sides.
- If you are using pre-cut and folded 5x7 cards you can skip the above two steps.
NOTE: These instructions may not cover every contingency. You may have to experiment to get it right. If you have suggestions to improve the instructions please send them to revolution.reports@yahoo.com.
Cost and Pricing:
If you order materials in bulk the cost per card should be $1 or less. We suggest charging $5 per card and you could sell the set of six for $25.
Click here to return to “Holiday Fundraising for the Revolution Tour” page.
Insert for the Tour Cards
This insert (PDF) should be printed on nice paper; print the PDF landscape on 8 1/2 x 11 sheet, and cut into four inserts.

CARDS:
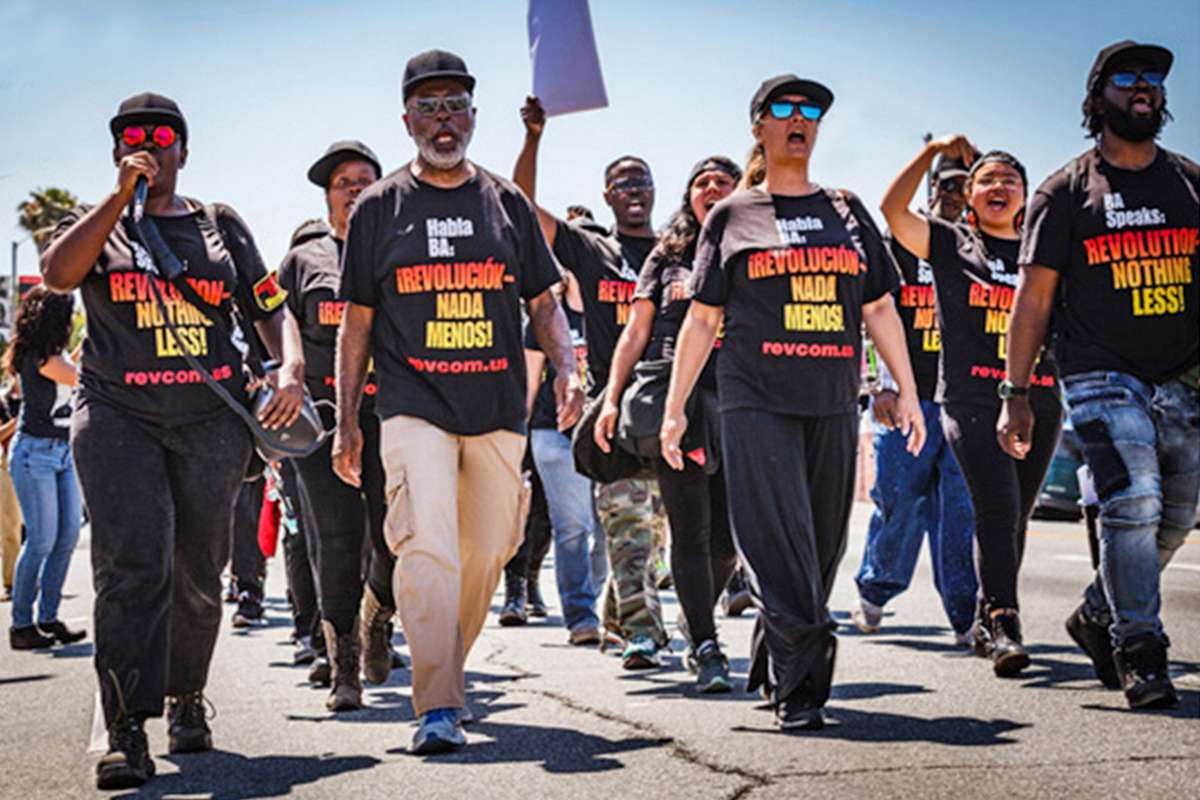
1. Revolution Tour Debut in Los Angeles, June 8, 2019


For Method 1:
•Card, front and back, without image (pdf)
•4X6 image (jpeg)
For Method 2:
•Card, front and back, with image (pdf)
2. Standing up for abortion rights at a performance of Les Misérables in Los Angeles


For Method 1:
•Card, front and back, without image (pdf)
•4X6 image (jpeg)
For Method 2:
•Card, front and back, with image (pdf)
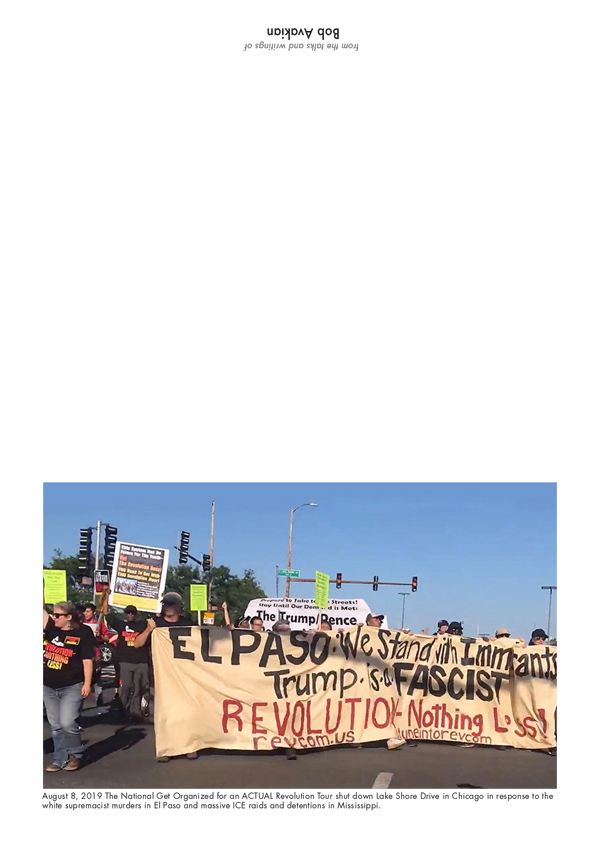
3. Shutting Down Lake Shore Drive in Chicago, August 8, 2019
For Method 1:
•Card, front and back, without image (pdf)
•4X6 image (jpeg)
For Method 2:
•Card, front and back, with image (pdf)
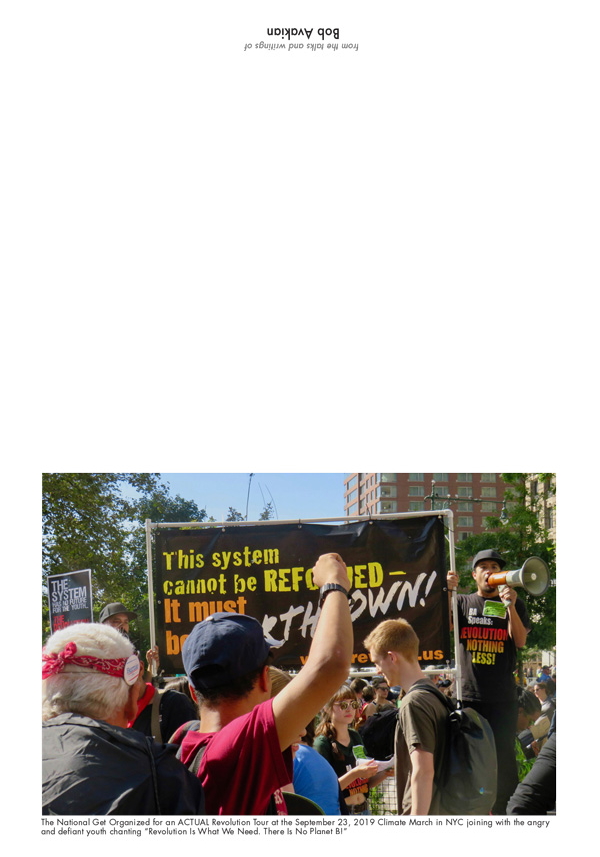
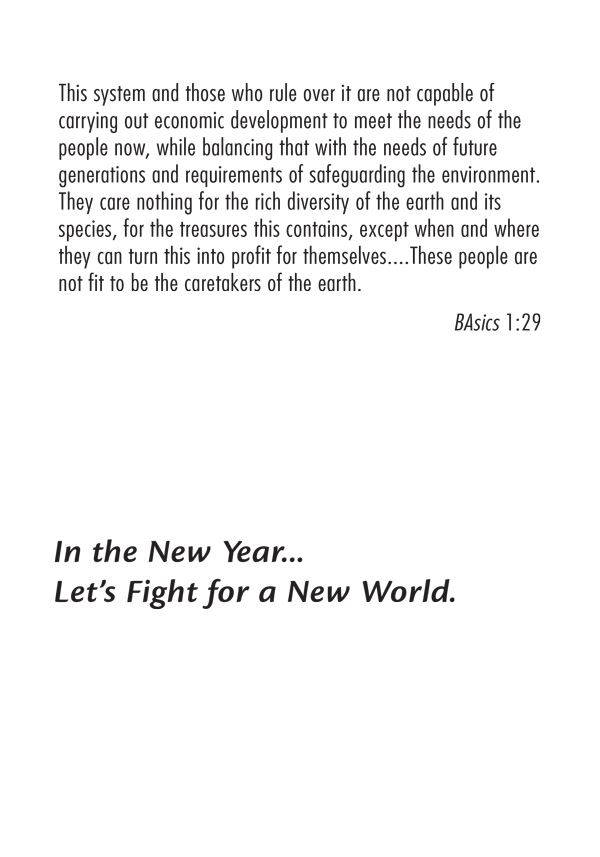
4. At the Climate March in NYC, September 23, 2019
For Method 1:
•Card, front and back, without image (pdf)
•4X6 image (jpeg)
For Method 2:
•Card, front and back, with image (pdf)
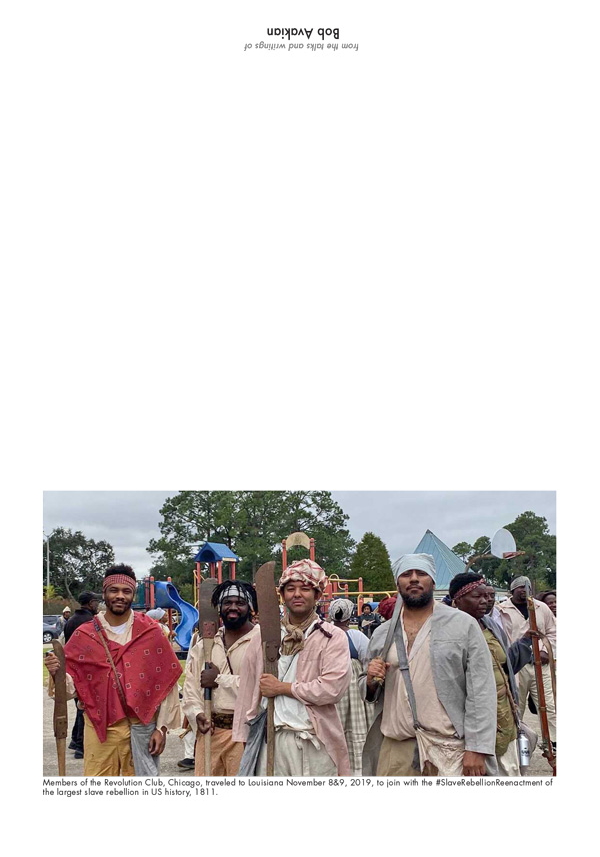
5. Revolution Club Chicago in Louisiana at the #SlaveRebellionReenactment

For Method 1:
•Card, front and back, without image (pdf)
•4X6 image (jpeg)
For Method 2:
•Card, front and back, with image (pdf)
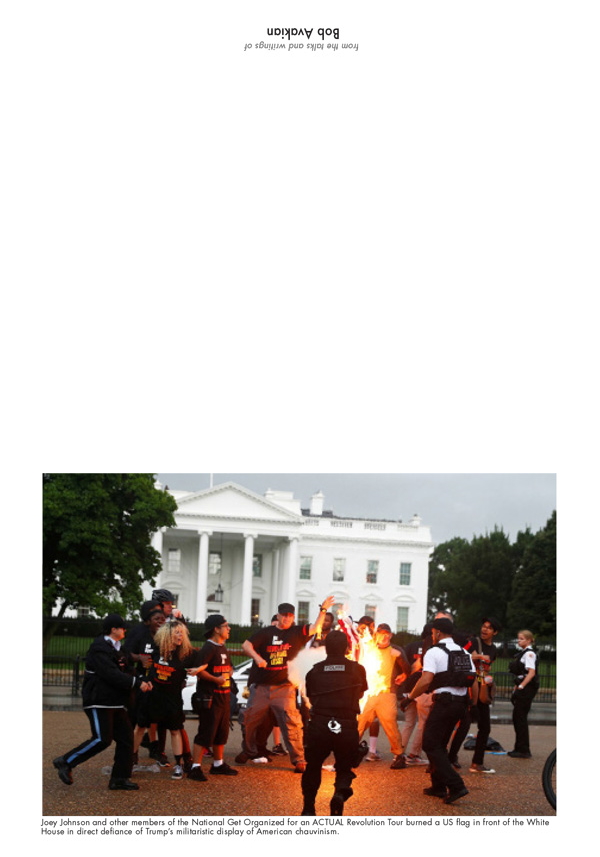
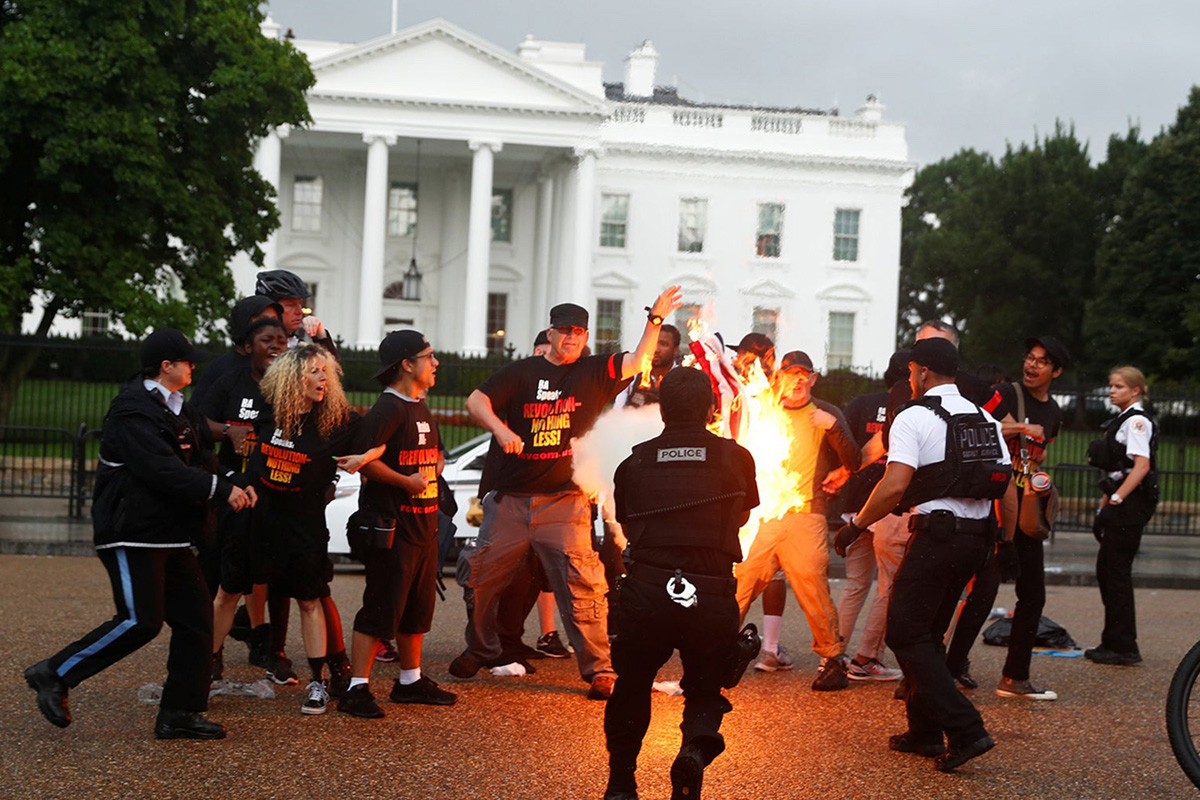
6. July 4, 2019, burning the U.S. flag in front of the White House

For Method 1:
•Card, front and back, without image (pdf)
•4X6 image (jpeg)
For Method 2:
•Card, front and back, with image (pdf)
Get a free email subscription to revcom.us: